Module 2: OpenShift Virtualization & RWX Live Migration
Learning Objectives
By the end of this module, you will:
-
Deploy a Linux Virtual Machine using OpenShift Virtualization
-
Execute and monitor a non-disruptive live migration
-
Understand why RWX storage is required for workload mobility
Step 1: Navigate to Virtualization
-
Open the OpenShift Console: {openshift_console_url}
-
Select your project:
{user_namespace} -
From the left menu, navigate to Virtualization > VirtualMachines
Step 2: Create a Virtual Machine
-
Click Create VirtualMachine
-
Select From template
-
Choose Fedora VM (or the available Linux template)
-
Configure the VM:
Name
{user}-testvmNamespace
{user_namespace} -
Click Customize VirtualMachine before creating
-
Under Storage, verify or change the disk settings:
-
Storage Class:
ocs-storagecluster-ceph-rbd-virtualization -
Access Mode: Should show ReadWriteMany (RWX)
-
Volume Mode: Block
-
-
Click Create VirtualMachine
|
The storage class |
Alternatively, create the VM from the terminal:
cat <<EOF | oc apply -f -
apiVersion: kubevirt.io/v1
kind: VirtualMachine
metadata:
name: {user}-testvm
namespace: {user_namespace}
labels:
app: {user}-testvm
spec:
runStrategy: Always
template:
metadata:
labels:
kubevirt.io/vm: {user}-testvm
spec:
domain:
devices:
disks:
- disk:
bus: virtio
name: rootdisk
interfaces:
- masquerade: {}
name: default
resources:
requests:
memory: 1Gi
networks:
- name: default
pod: {}
volumes:
- dataVolume:
name: {user}-testvm-rootdisk
name: rootdisk
dataVolumeTemplates:
- metadata:
name: {user}-testvm-rootdisk
spec:
source:
registry:
url: "docker://quay.io/containerdisks/fedora:latest"
pvc:
accessModes:
- ReadWriteMany
volumeMode: Block
resources:
requests:
storage: 10Gi
storageClassName: ocs-storagecluster-ceph-rbd-virtualization
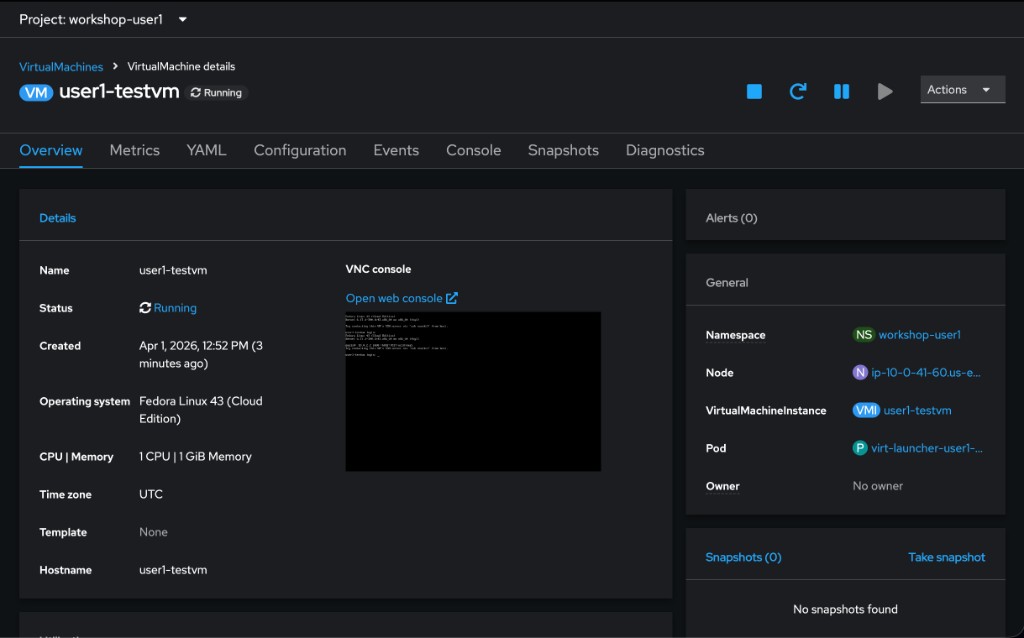
EOFStep 3: Wait for the VM to Start
Monitor the VM status:
oc get vm {user}-testvm -n {user_namespace} -wWait until READY shows True and STATUS shows Running. This may take 2-3 minutes as the container disk image is imported.
Check which node the VM is running on:
oc get vmi {user}-testvm -n {user_namespace} -o jsonpath='{.status.nodeName}' ; echoRecord this node name — you’ll verify the VM moves to a different node after migration.
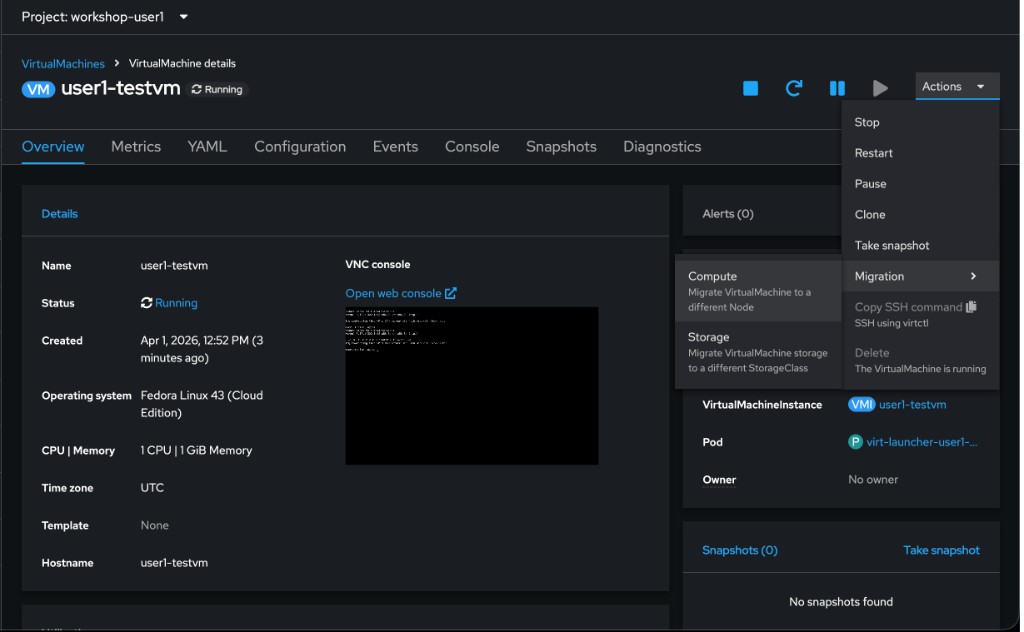
Step 4: Initiate Live Migration
Step 5: Monitor the Migration
Watch the migration progress:
oc get vmim -n {user_namespace} -wThe migration goes through these phases: Scheduling → TargetReady → Running → Succeeded.
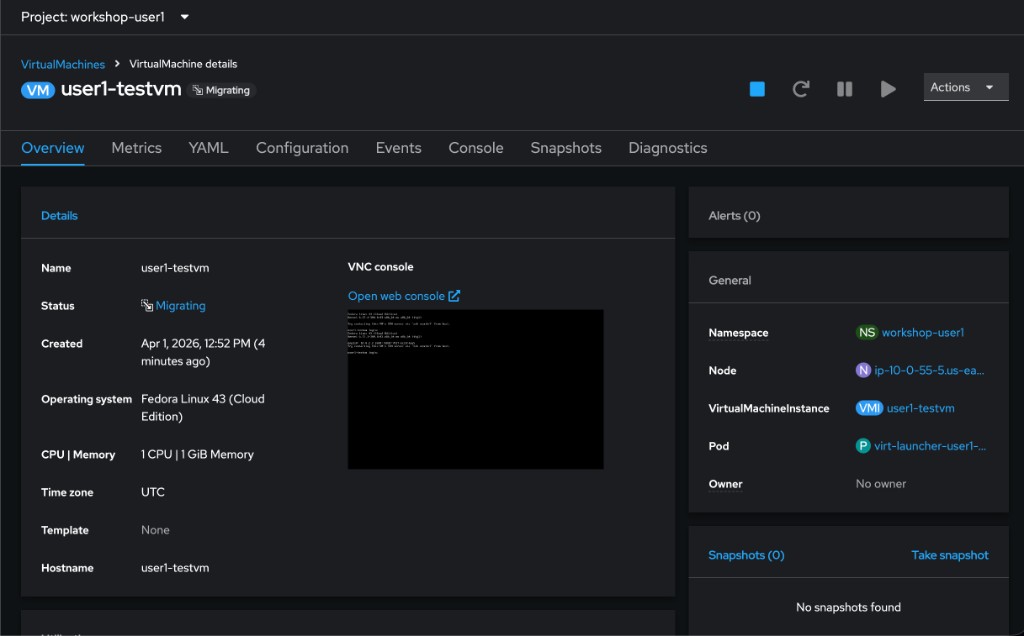
Once complete, verify the VM moved to a different node:
oc get vmi {user}-testvm -n {user_namespace} -o jsonpath='{.status.nodeName}' ; echo|
The VM changed hosts without downtime. The guest operating system continued running throughout. This is only possible because:
Attempting this with a standard RWO volume would fail — the VM would be permanently locked to a single physical node. |
Clean Up (Optional)
If you want to clean up before Module 3:
oc delete vmim {user}-testvm-migration -n {user_namespace} --ignore-not-found|
Do not delete the VM itself — you will use it in Module 3 for data protection. |