Module 3: Deploying the Todo App with GitOps
Module Overview
This module focuses on deploying a Todo application using GitOps principles. Participants will learn how to set up a GitOps repository, define the desired state of the application, and use Argo CD for deployment. Additionally, they will explore Gitea as an alternative Git service and perform hands-on tasks to deploy the Todo app using GitOps.
Key Learning Objectives
-
Understand the GitOps workflow for application deployment.
-
Learn how to set up and manage a GitOps repository.
-
Use Argo CD for real-time synchronization and health monitoring.
-
Explore Gitea as a self-hosted Git service and its integration with Argo CD.
-
Deploy a Todo app using GitOps principles and observe automated deployment processes.
Setting up the GitOps Repository
Initializing the Git Repository
Below is an example of creating a repo to be used for GitOps. Follow these steps:
-
Create a new repository on your preferred Git hosting service (e.g., GitHub, GitLab).
-
Clone the repository to your local machine:
git clone <repository-url>
cd <repository-name>
-
Initialize the GitOps structure by creating the following directories:
mkdir -p manifests/base manifests/overlays/production
-
Add the necessary Kubernetes manifests (e.g., deployment.yaml, service.yaml) to the
manifests/basedirectory. -
Commit and push the changes to the repository:
git add .
git commit -m "Initialize GitOps repository"
git push origin main
GitOps-Compatible Structure
Ensure your repository follows a GitOps-compatible structure. This typically includes:
-
A
basedirectory for common configurations. -
An
overlaysdirectory for environment-specific configurations (e.g., production, staging). -
Kubernetes manifests (YAML files) defining the desired state of the application.
Defining the Desired State
Key Resources
The desired state of the Todo application in Git. Key resources include:
-
Deployment: Specifies the desired state of the application pods.
-
Service: Exposes the application to the network.
-
ConfigMap/Secret: Stores configuration data and sensitive information.
-
Route: to be used for comminucation into the application.
Using Argo CD for Deployment
Synchronizing with Argo CD
When using Argo CD to synchronize the application deployment on OpenShift with the Git repository:
-
Install Argo CD on your OpenShift cluster.
-
Create an Argo CD application pointing to your Git repository:
argocd app create todo-app \
   --repo <repository-url> \
   --path manifests/overlays/production \
   --dest-server https://kubernetes.default.svc \
   --dest-namespace default
-
Sync the application to deploy it:
argocd app sync todo-app
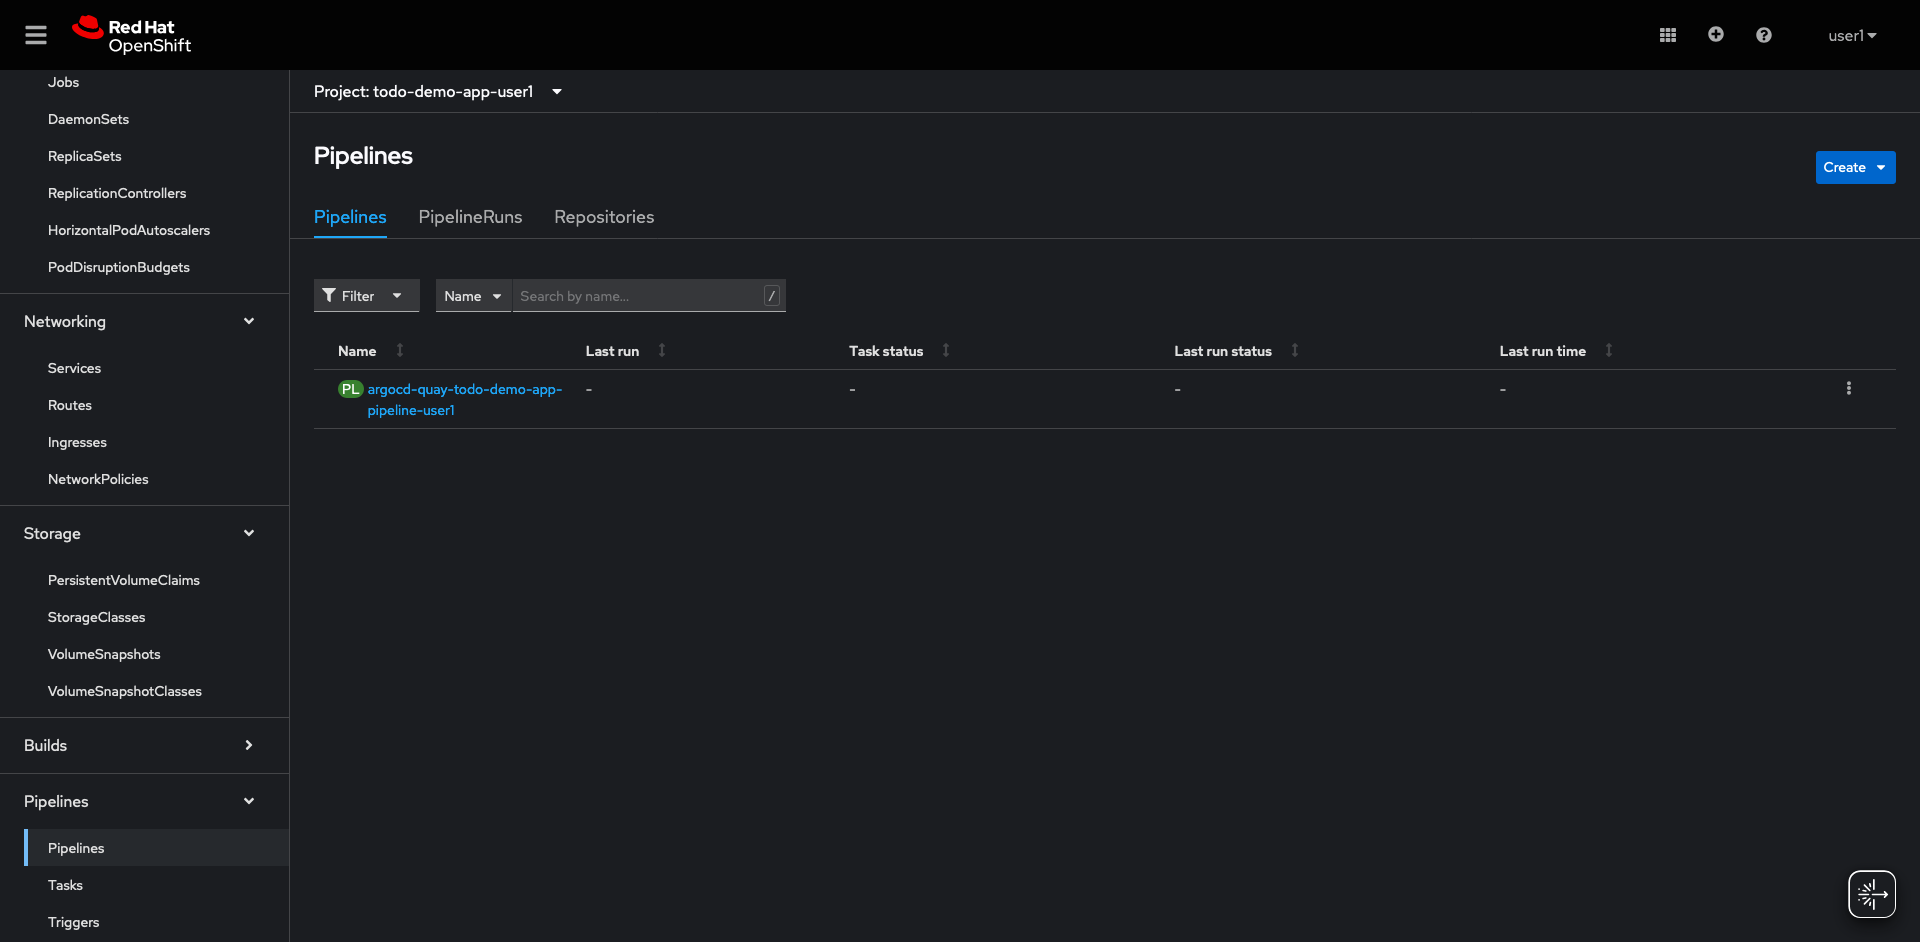
Hands-On Task
Deploying the Todo App
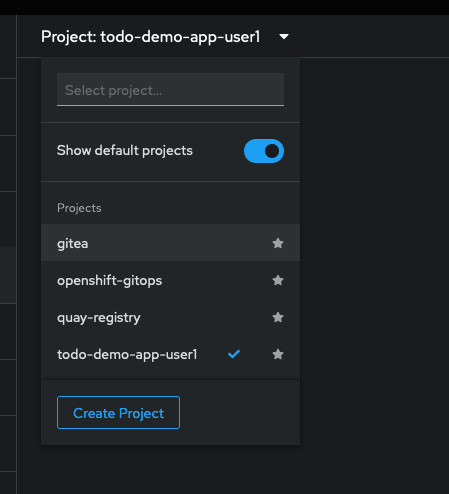
Navigate to the Gitea Project
Access the Gita URL
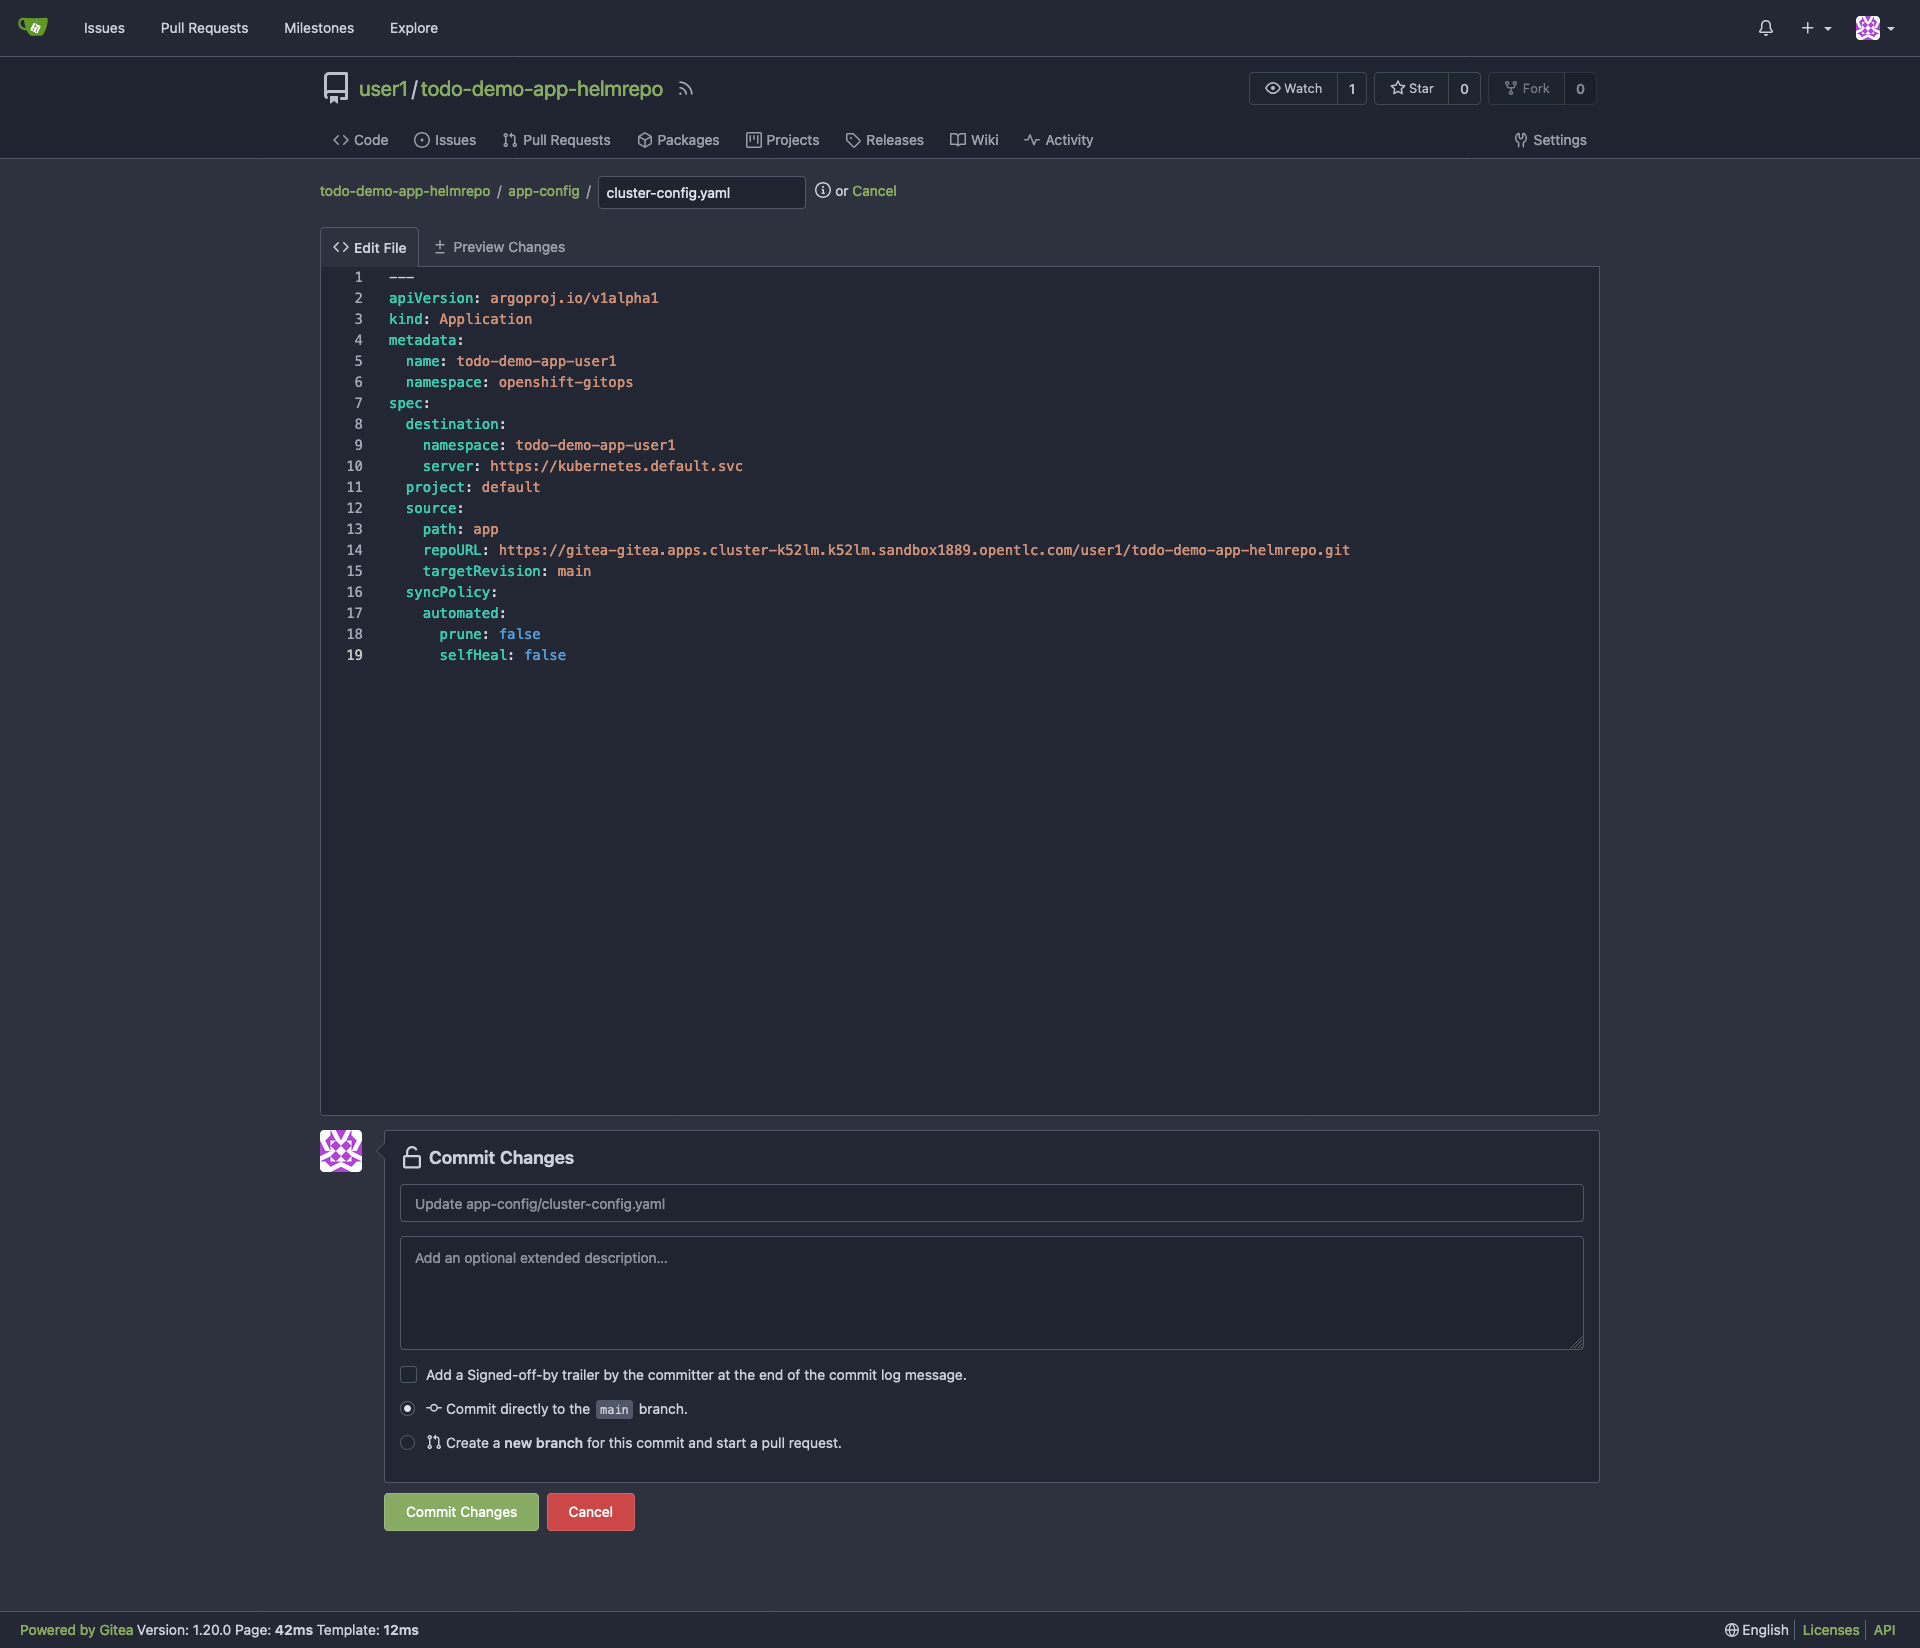
Change the app-config/cluster-config.yaml to your repo url
Change the app/kustomization.yaml namespace to your namespace
namespace todo-demo-app-yourusername
|
spec→destination→namespace todo-demo-app-yourusername
|
spec→project yourusername-project
|
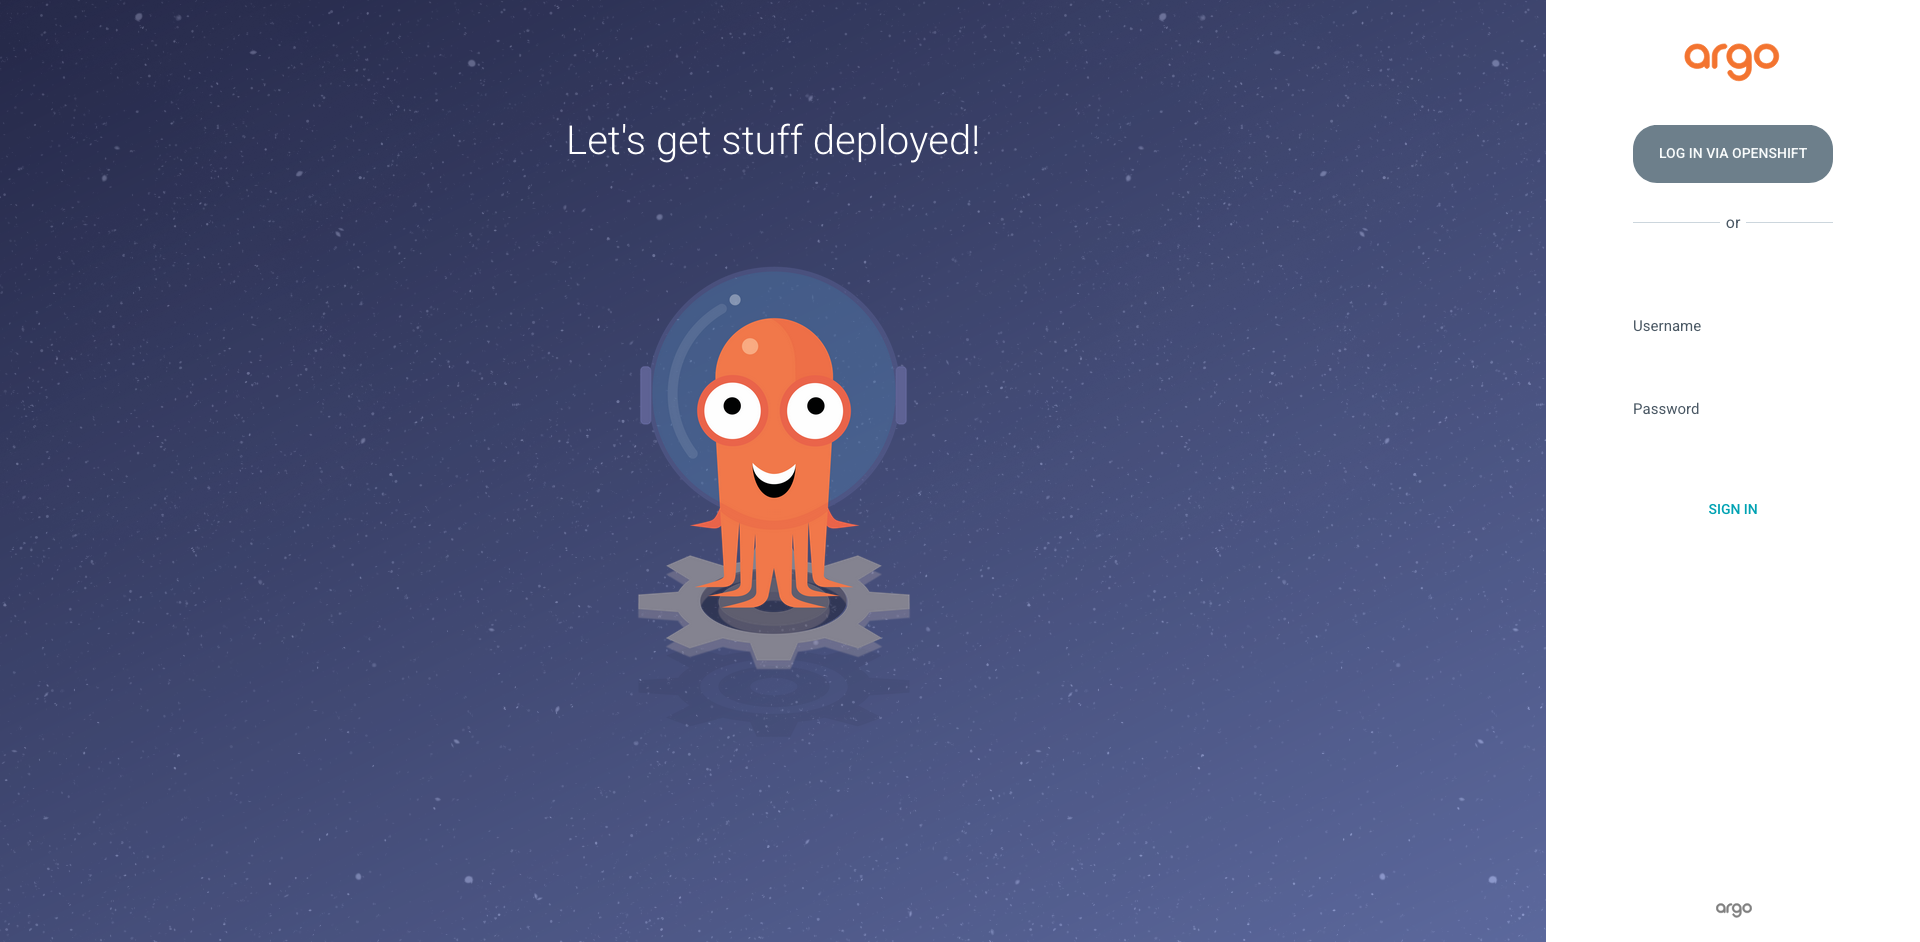
Login into the ArgoCD instance
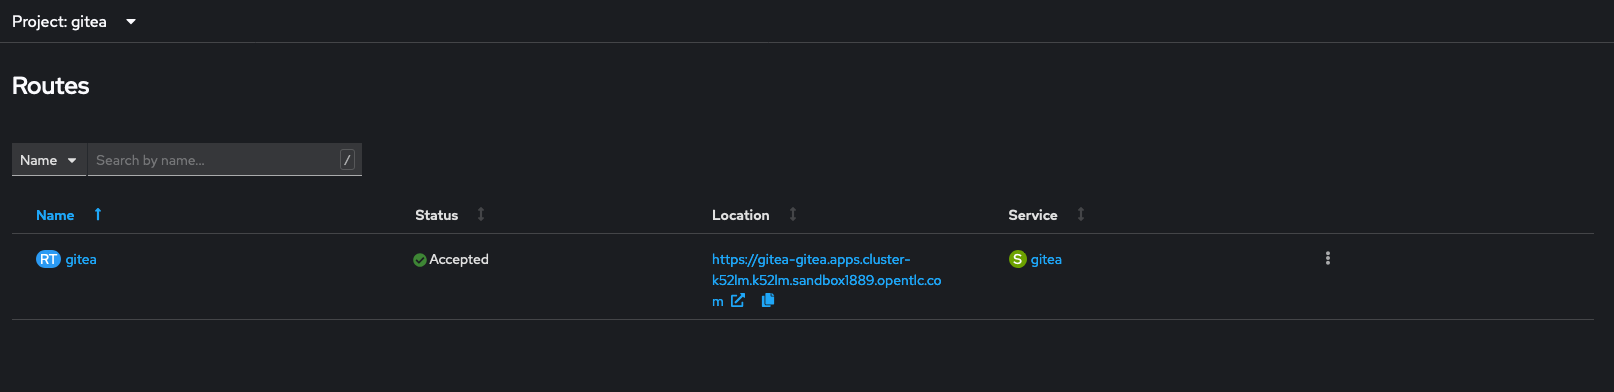
Located under openshift-gitops → Routes Menu Click on openshift-gitops-server Location
Click on LOG IN VIA OPENSHIFT
|
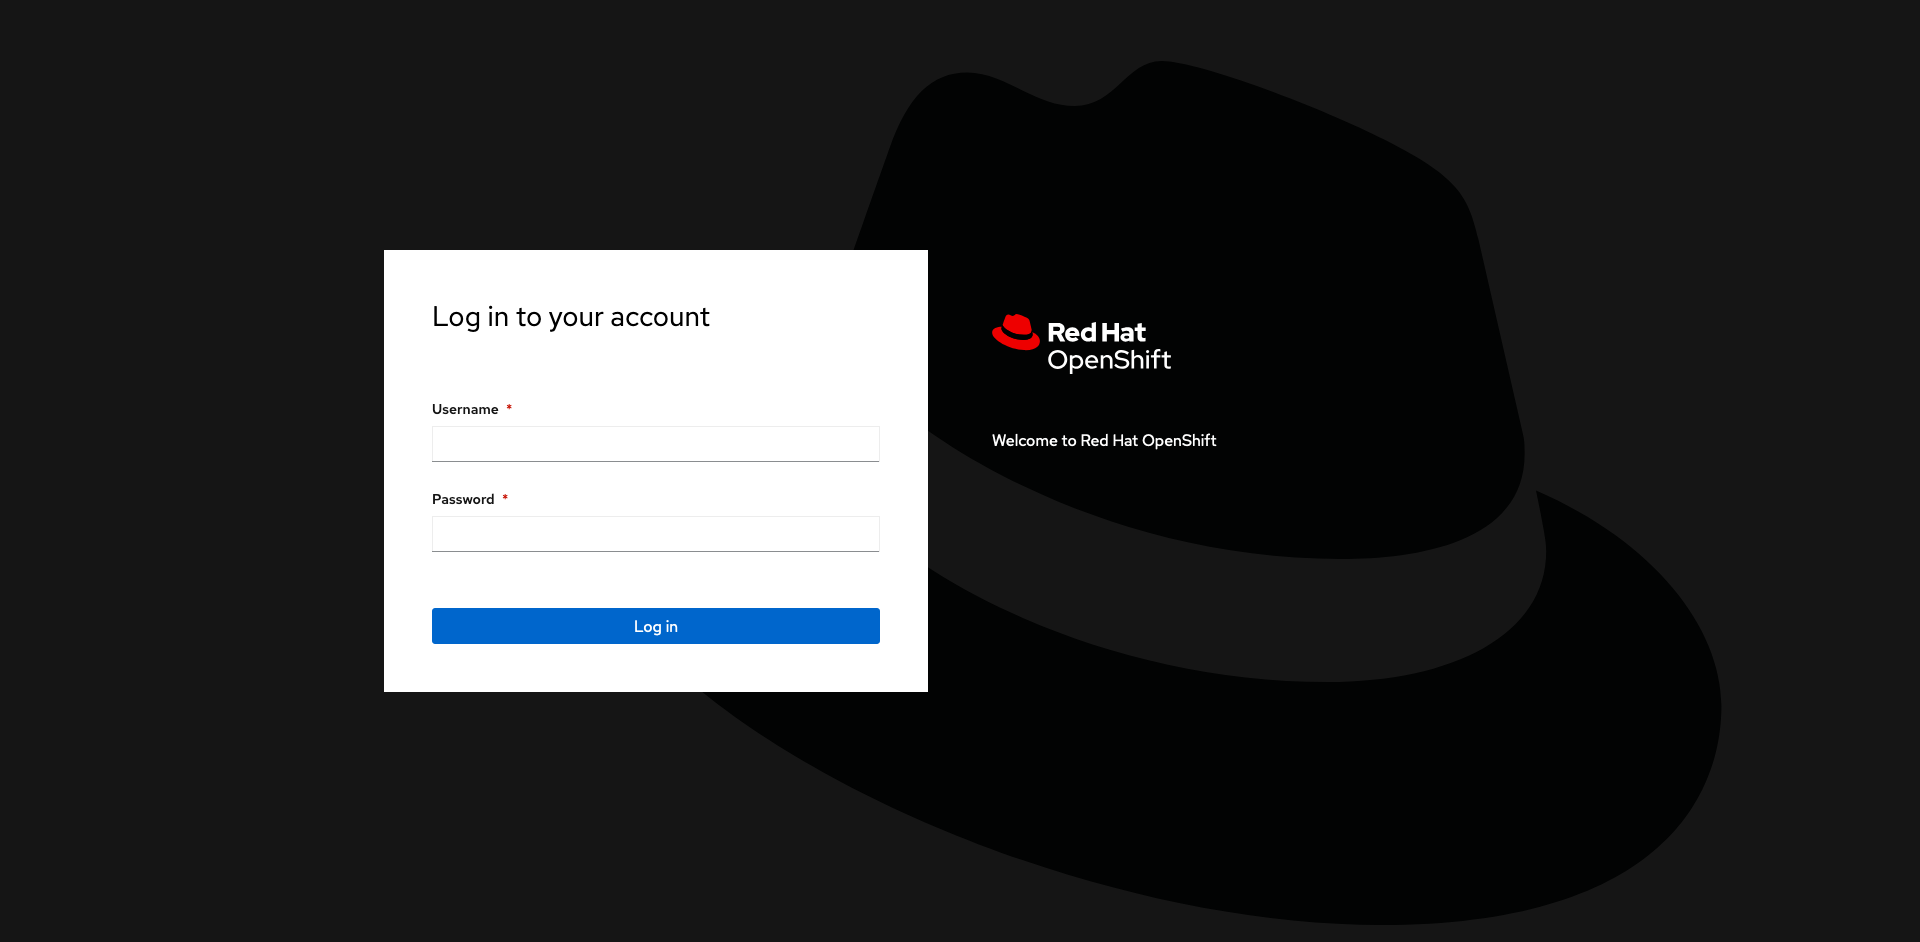
Use your OpenShift username and password to access cluster and Authorize Access
Configure your Repo under Settings→Repositories
| Enter the vaules below |
-
Type
git -
Project
yourusername-project -
Repository URL
https://gitea-gitea.apps.ocp4.example.com/yourusername/todo-demo-app-helmrepo.git -
Username (optional)
user1 -
Password (optional)
Validate the connection was Successful

Copy the configuration from your Gitea Repo into ArgoCD
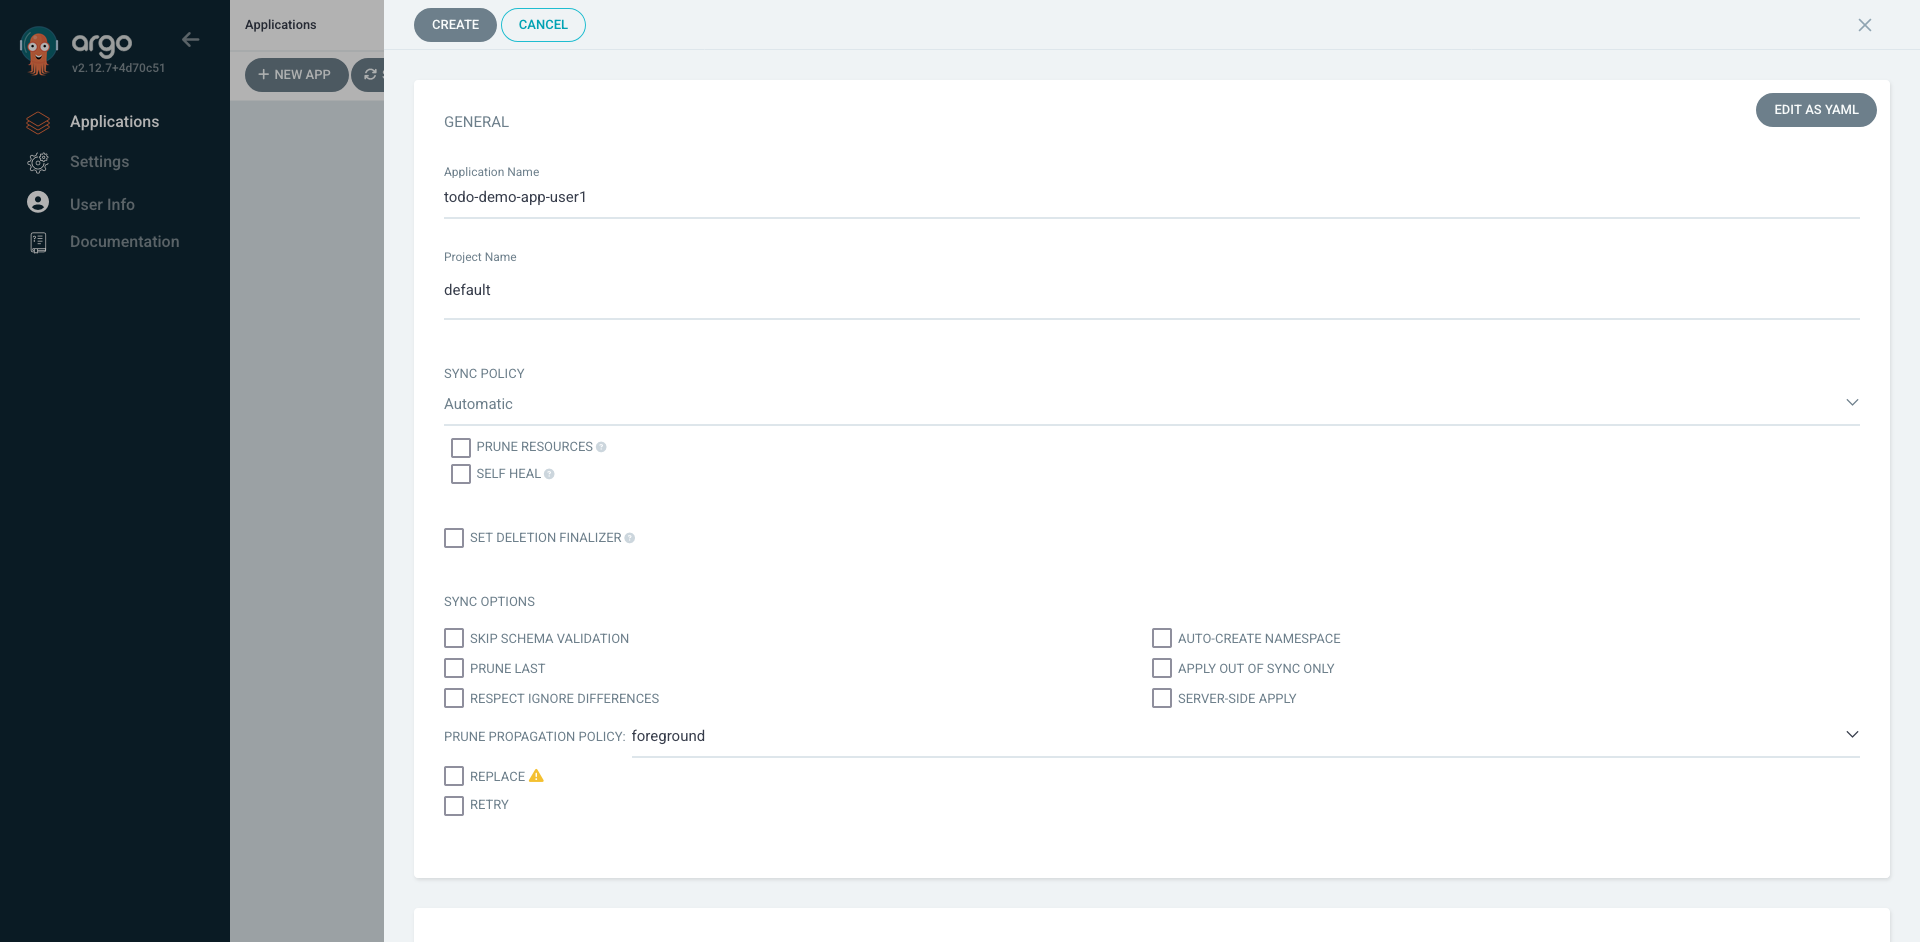
Click on the EDIT AS YAML
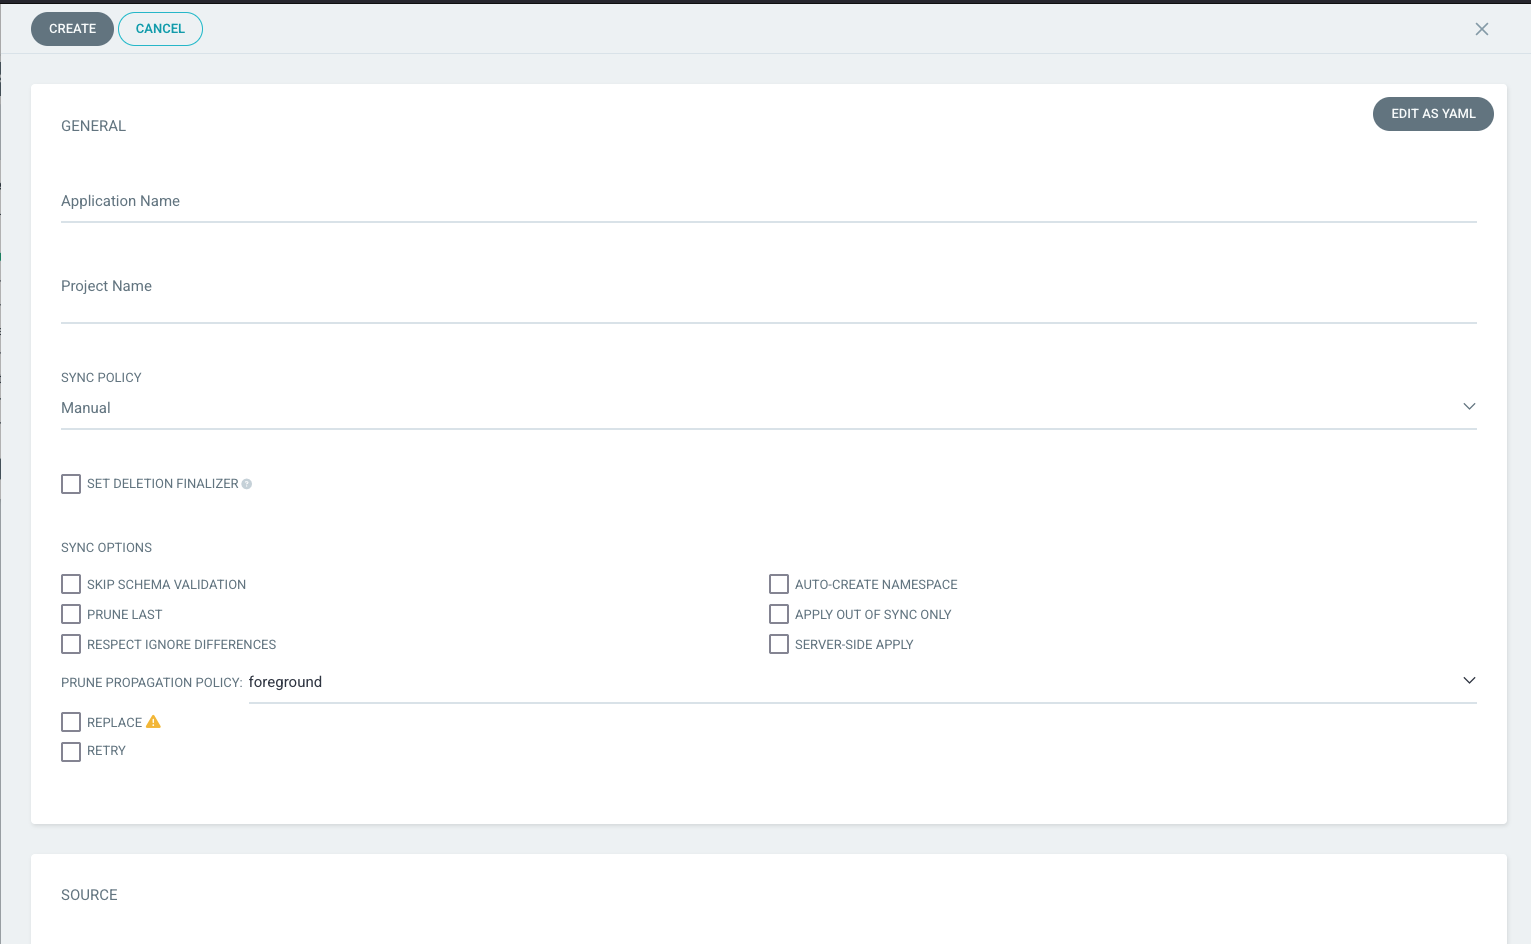
Save the yaml configuration in ArgoCD
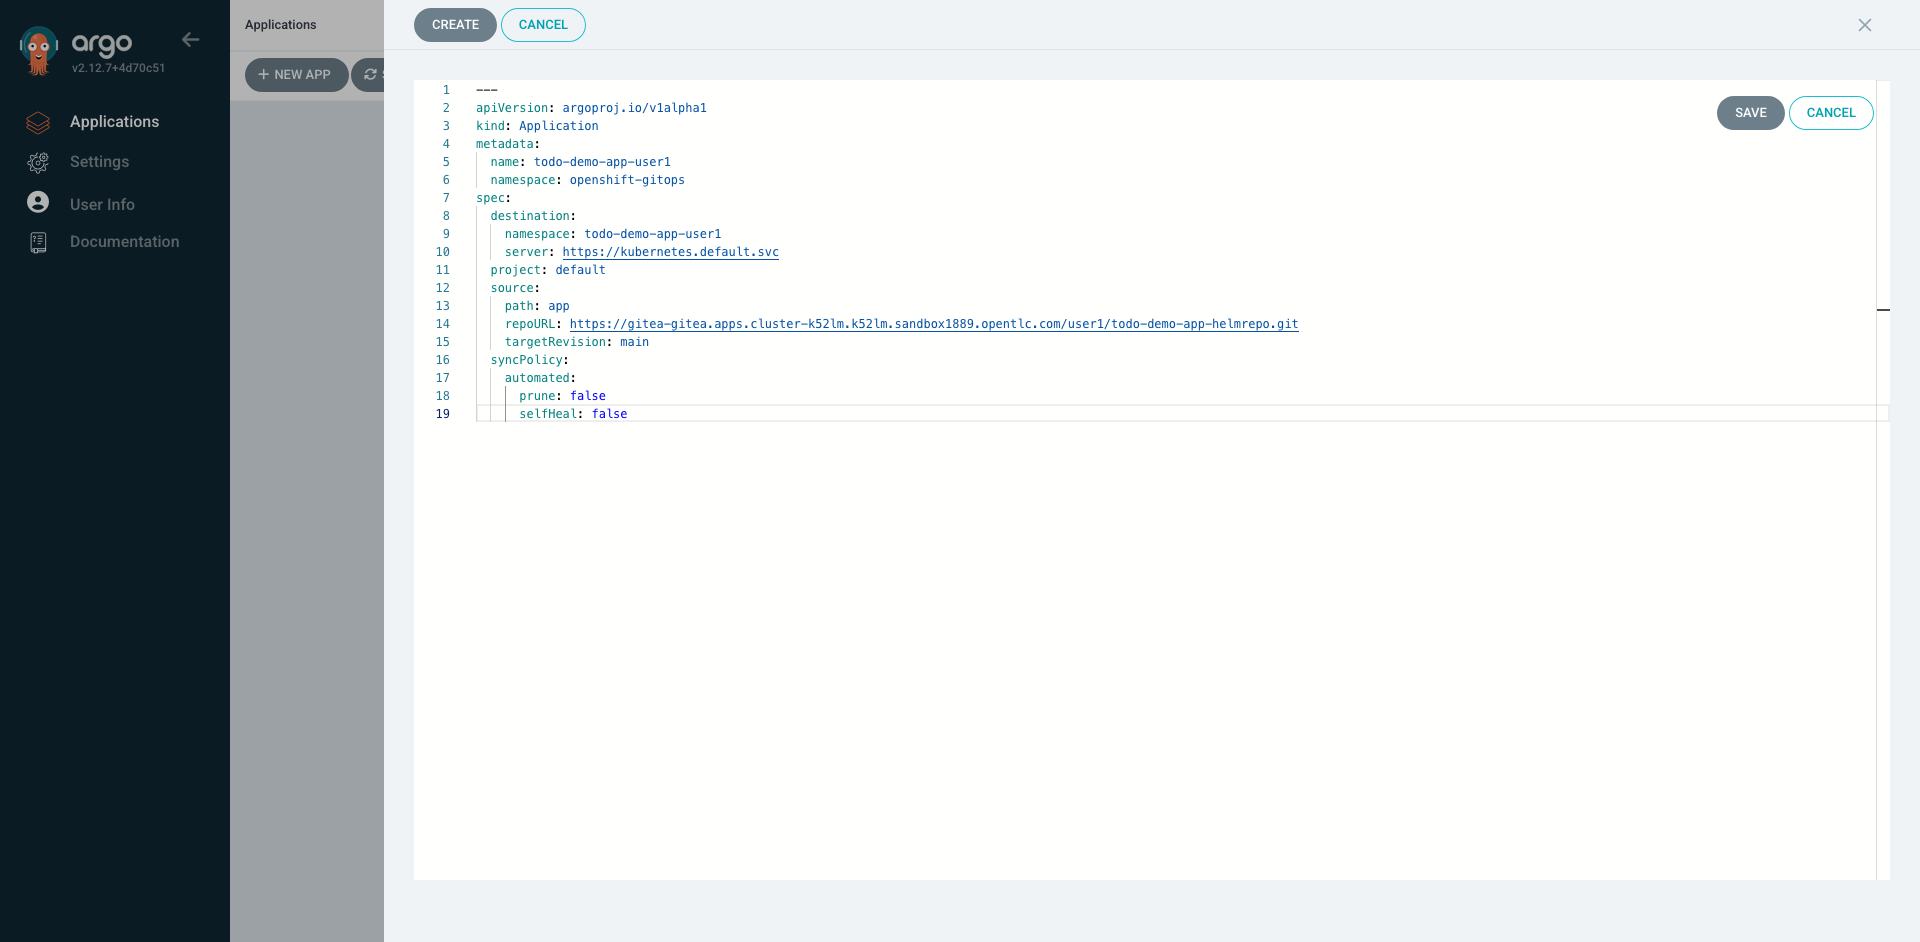
Click Create to start deployment
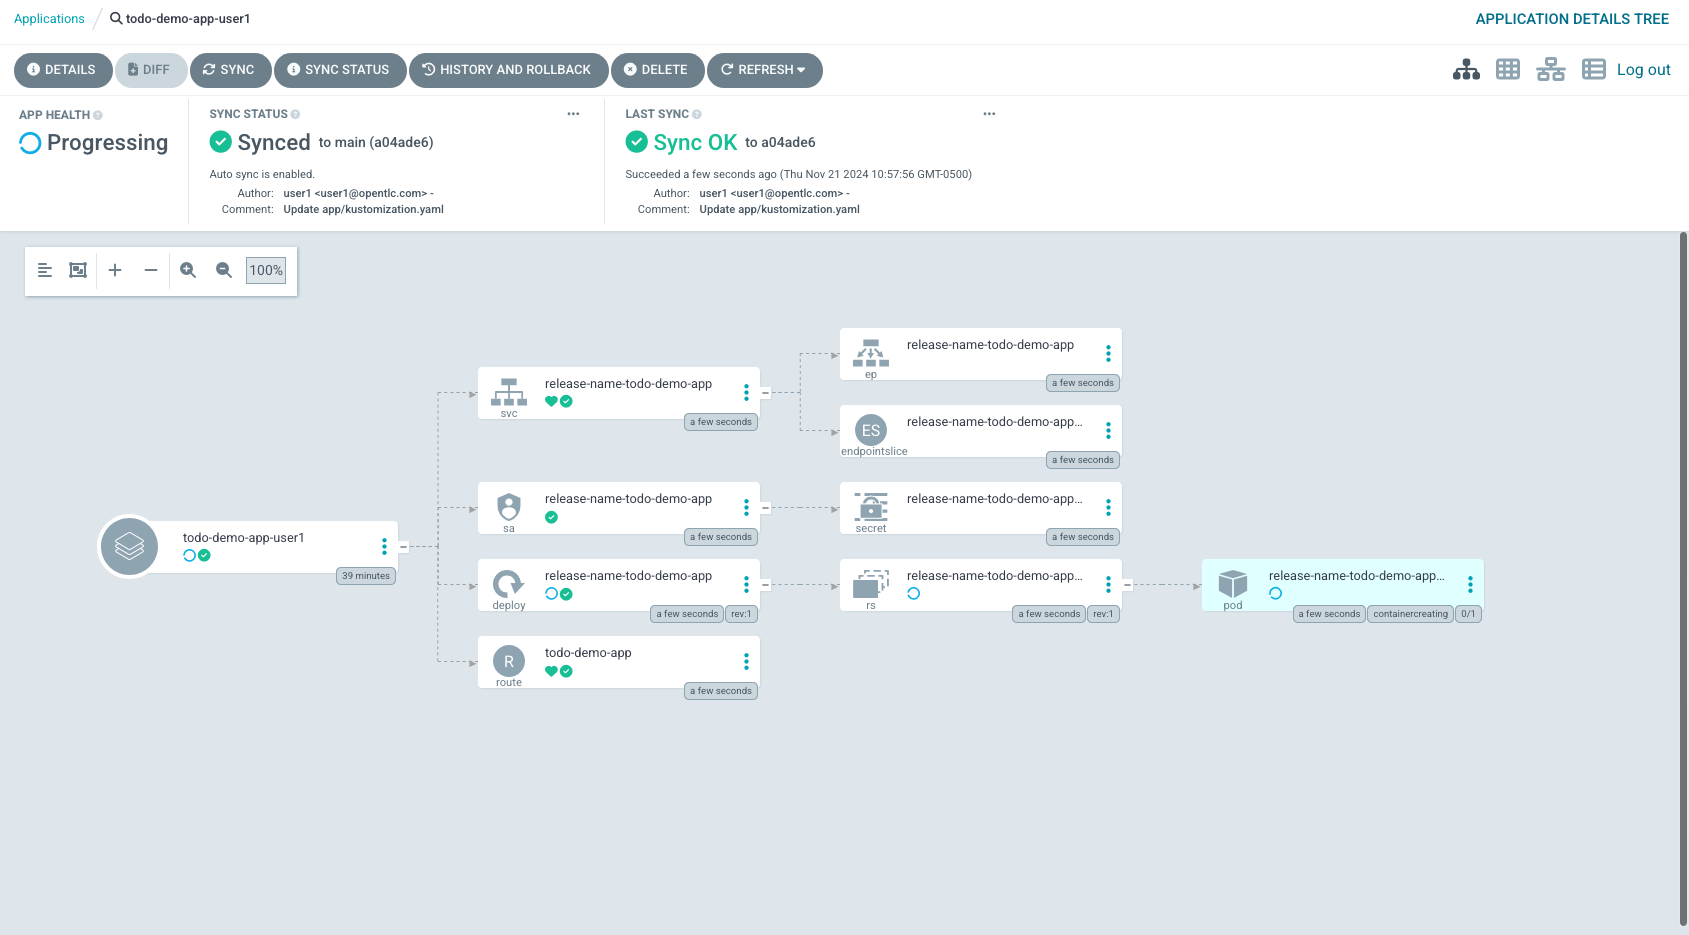
Validate ArgoCD Sync status
Navigate to your todo-demo-app-yourusername namespace and select route
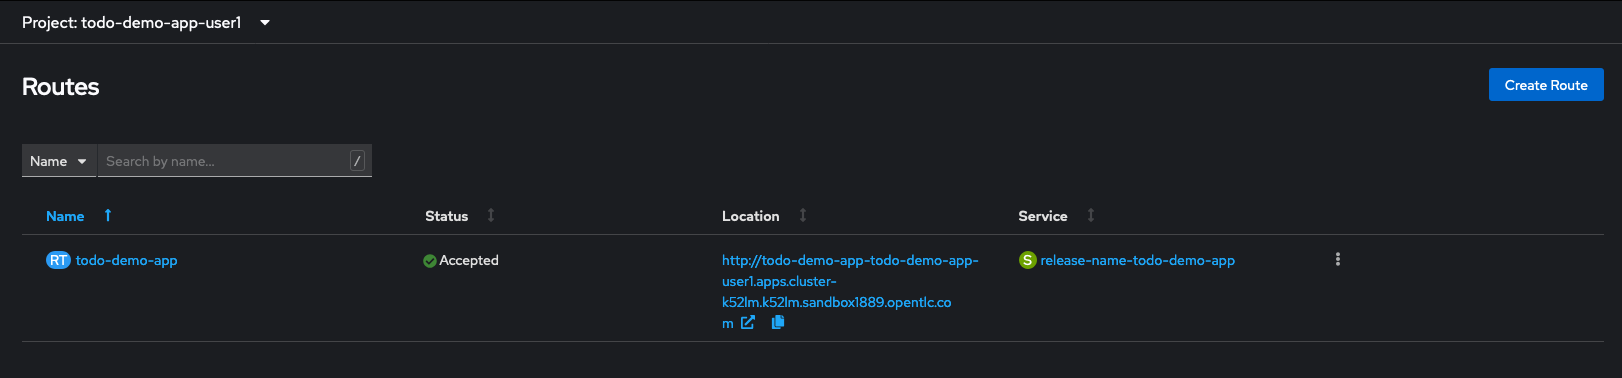
View deployed application

Module Summary
Key takeaways from this module include:
-
Understanding the GitOps workflow for application deployment.
-
Setting up and managing a GitOps repository.
-
Using Argo CD for real-time synchronization and health monitoring.
-
Exploring Gitea as a self-hosted Git service and its integration with Argo CD.
-
Deploying a Todo app using GitOps principles and observing automated deployment processes.